之前有不少的朋友问到过Wordpress写文章用什么编辑器的问题,因为如果直接使用Wordpress后台的在线文章编辑器很容易出现断网和无法保存数据的问题。一般地,我会使用离线编辑器将文章写好,然后再直接到复制到Wordpress编辑后发布出来。
不过,离线编辑器最近几年的遭遇有点类似于RSS在线阅读器,在各大公司眼里已经成了鸡肋——”食之无味,弃之可惜“。要不是最近几天换了Windows 10,还真是没能觉察到Wordpress编辑器的重要性,连续换了好几种方法才终于在Windows 10上搞定了Windows Live Writer。
Windows Live Writer就由微软基于.NET编写开发的一款编辑器,最早的一个版本是2007年发布的,最后一个版本是Windows Live Writer 2012。也就是说差不多好几年微软已经没有更新Windows Live Writer了,而且微软已经放弃了,同时将它开源出来——Open Live Writer。

这篇文章就是为分享如何在Windows 10上安装Windows Live Writer,由于微软已经放弃了Windows Live Writer,所以通过常规的方法会出现安装失败的情况,本文仅做参考。
注意:使用Windows Live Writer发布文章将会依赖于Wordpress的Xmlrpc组件,如果已禁用该组件,将可能导致发布文章异常。
一、Windows Live Writer下载
下载地址:
- 官方地址:https://www.microsoft.com/zh-CN/download/details.aspx?id=8621
- 第三方地址:https://www.ucblog.net/wzfou/wlsetup-all.exe
将Windows Live Writer安装包下载到本地,然后运行安装。

选择Writer。
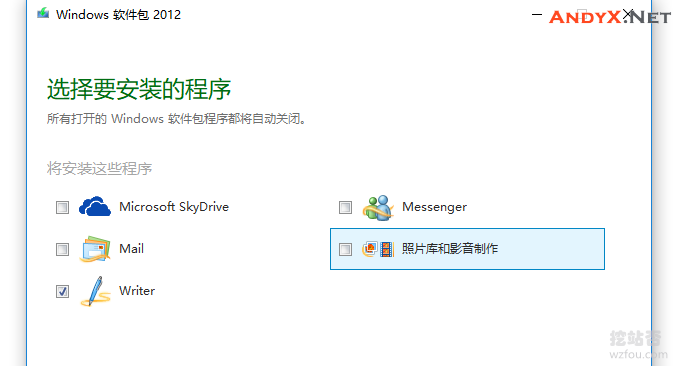
安装Windows Live Writer完成后,接下来就是配置了。
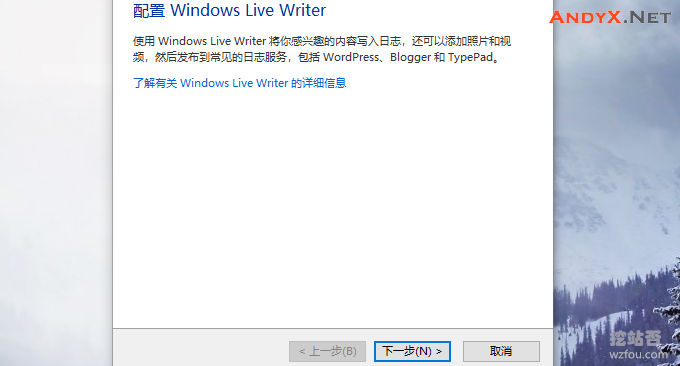
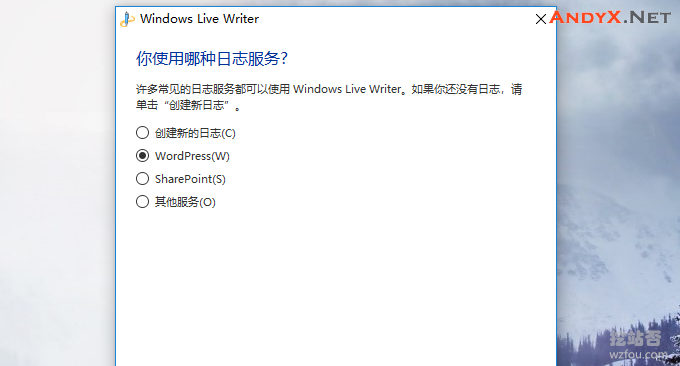
选择Wordpress,然后填写你的Wordpress的URL地址、账号和密码,完成后就可以使用了。
二、Windows Live Writer使用
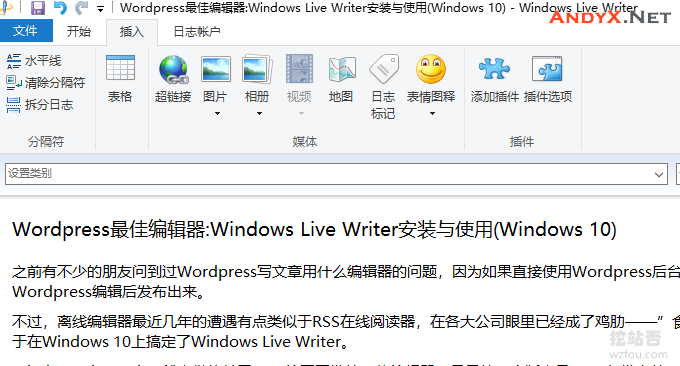
Windows Live Writer使用很简单,有点像Word文档,相对于其它的编辑来说主要是干净,虽然说多数功能没有什么实用,但是用于文章编辑还是让人省心。
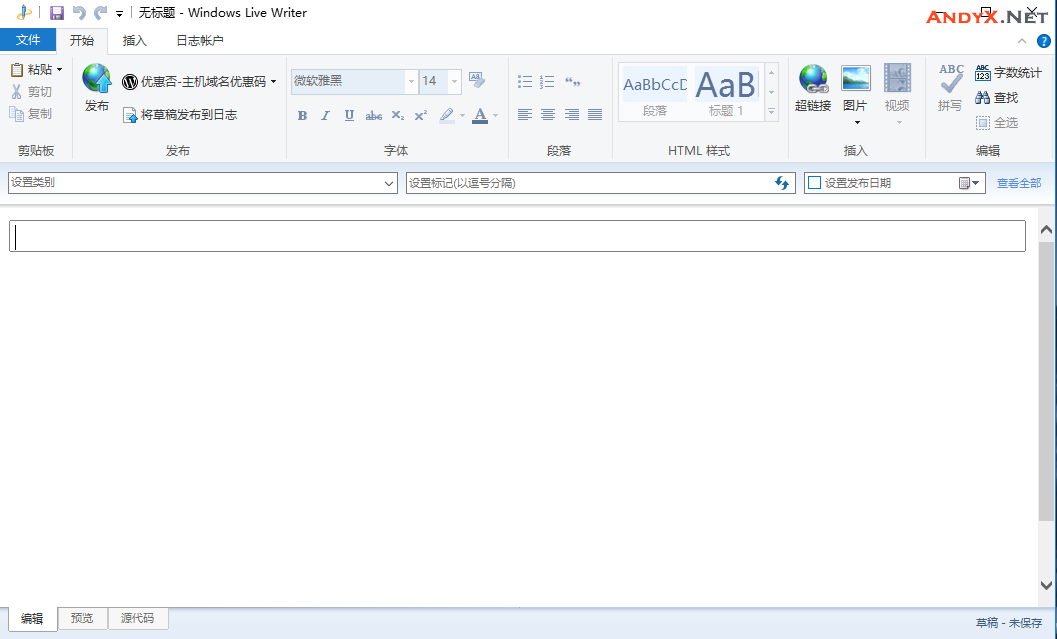
Windows Live Writer还提供了插入表格、图片、分隔线等,这对于编辑排版时还是有一定的用处的。
三、总结
对于很多不写博客的朋友来说,Windows Live Writer可能没有怎么听说过,但是在几年前就像RSS阅读器一样,使用者还是非常多的,我的个人第一篇文章就是用Windows Live Writer写的。
Windows Live Writer有一个很大的毛病就是需要绑定一个日志账号,以前还支持绑定新浪博客等常用的博客平台,现在如果你是在国内的话还是找一个Wordpress来绑定会更好一些。
(END)
文章出自:挖站否 https://wzfou.com/wlr/,版权所有。

